BreatherQuilt Trade Pallet Offer


BreatherQuilt Trade Pallet Offer
Trade Discount YBS BreatherQuilt
The most cost effective method to purchase BreatherQuilt – Free Next Working Day Delivery Nationwide! (UK Mainland only)
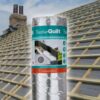
If you are building a new dwelling, or re-roofing an existing property, BreatherQuilt is your go-to roofing membrane!
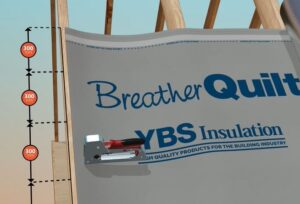
What is BreatherQuilt?
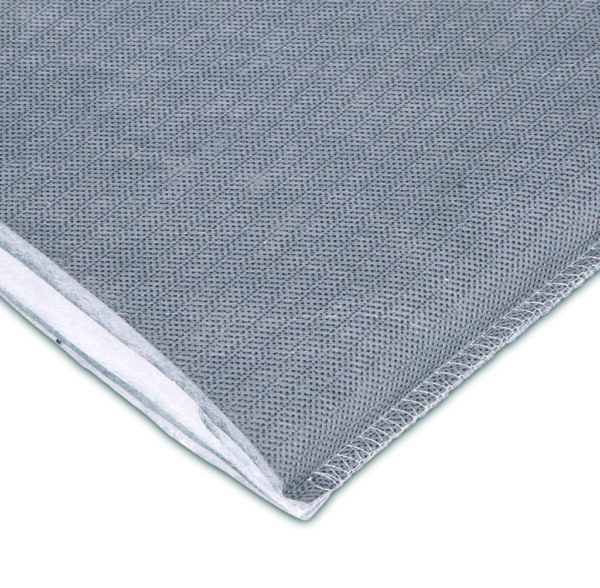
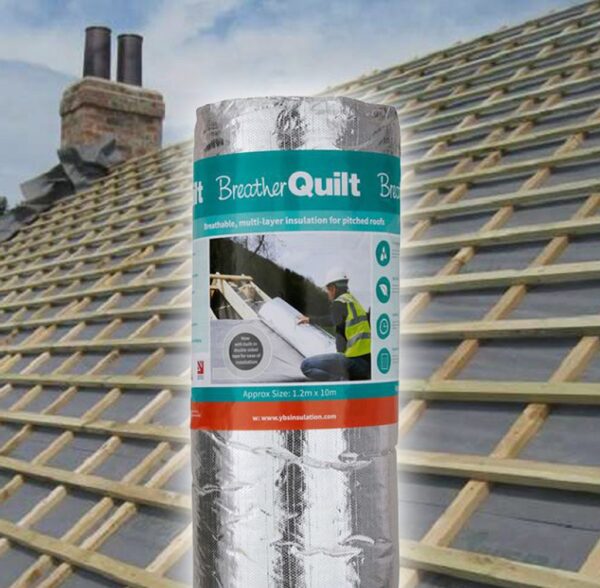
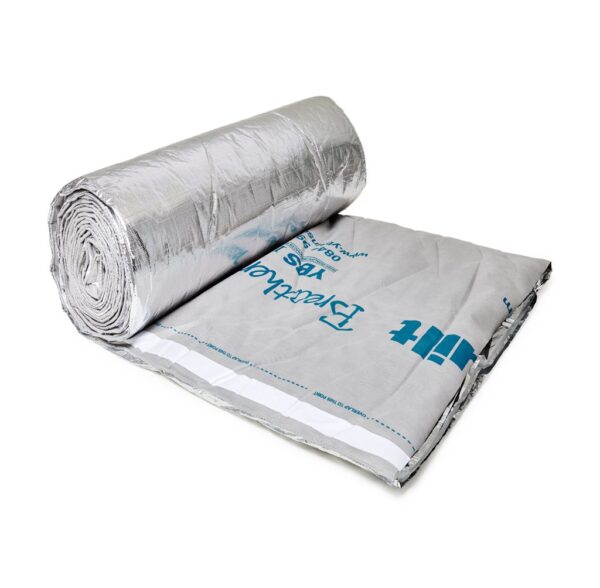
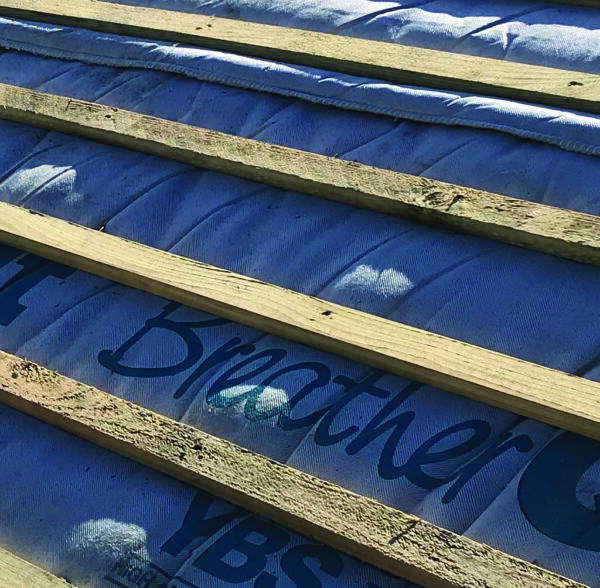
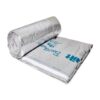
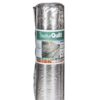
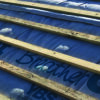
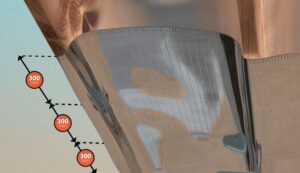
BreatherQuilt is a 40mm multi-layered blanket designed for pitched roofs. Proven to save on Cost, Installation Time and Space in your project!
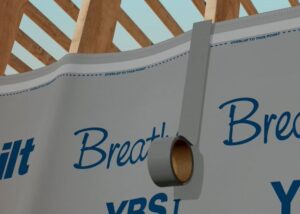
It’s 11 layers consists of reflective foils, recycled waddings and PE foams. All of these layers are perforated, allowing full breathability and eliminating condensation. Double Sided Tape is also built-in the roll, for ease of installation.
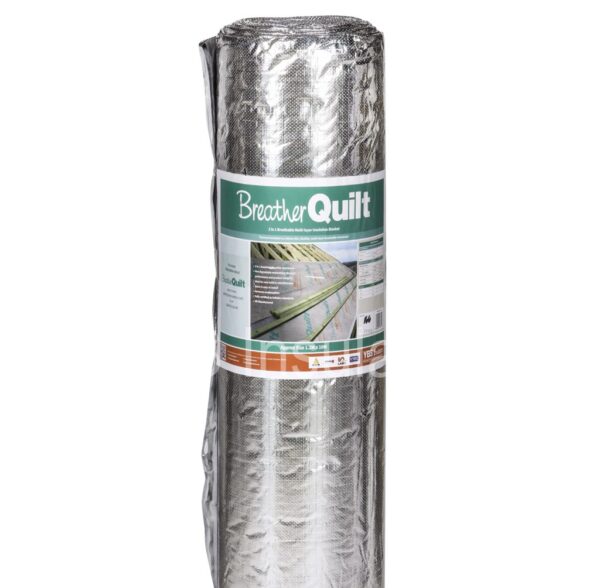
This multi-layered foil blanket is available 1.2m x 10m (12m²)
U-values and Certification
YBS BreatherQuilt is BDA approved for Building Control. See our Free and Easy to use Online U-Value Calculator to see how BreatherQuilt can assist in your project. You can also use BreatherQuilt to boost your EPC rating due to it being fully certified.
We advise BreatherQuilt and a double layer of YBS SuperQuilt to achieve a 0.18 U-Value in your Roof. See our How to Video! – See Link
You can install BreatherQuilt one of two ways. Taut requires a counter batten, whilst draped is acceptable with a single tile batten. See our How-To-Videos, and Data Sheets for additional fixing instructions
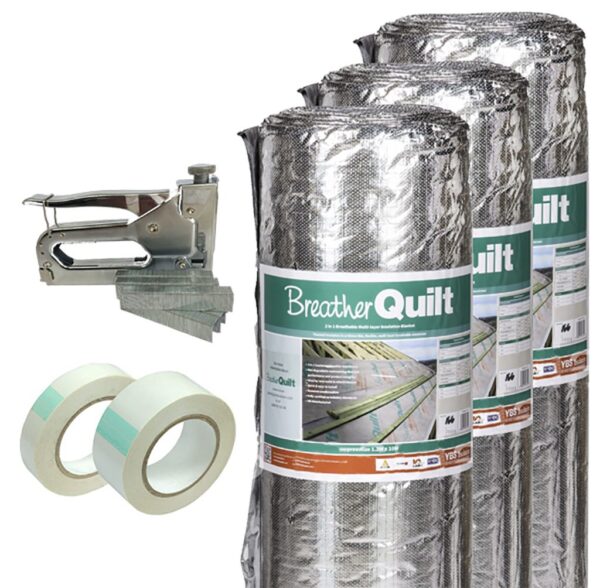
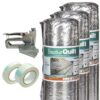
Whats included in YBS BreatherQuilt Trade Pallet Offer?
Buy our BreatherQuilt Trade Pallet Offer at the lowest trade prices available, you will receive;
- 12 or 15 x BreatherQuilt 1.2m x 10m
- 2 x Thermaseal Weatherproof Tape
- 1 x Heavy Duty Staple Gun & 5,000 Staples
- Free Next Working Day Delivery
Require BreatherQuilt in single rolls? Click Here
Prefer to order by phone? Call and speak to one of the team on 0114 323 0029. Alternately, use our Call Me Back option. One of our dedicated team will call you within the hour!
FREE GIFT
Spend £500 + VAT and Choose a FREE GIFT at the checkout!
Free Gifts Include: Thermaseal Foil Joining Tape, Heavy Duty Staple Gun Kit, Multifoil Insulation Scissors or Thermaseal Double Sided Tape.
How To Insulate a Roof Using BreatherQuilt
How to Fit BreatherQuilt over Rafter
-
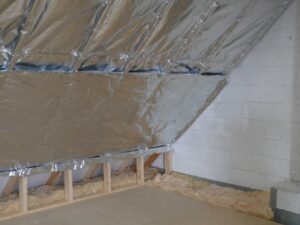
Installing BreatherQuilt
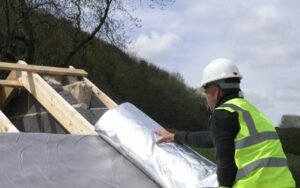
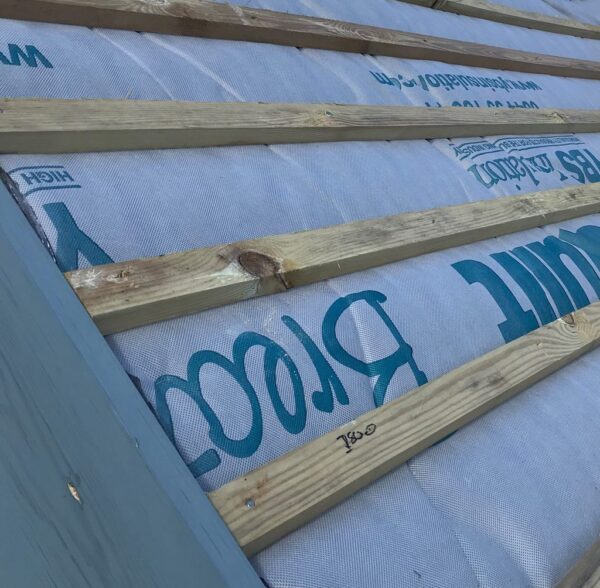
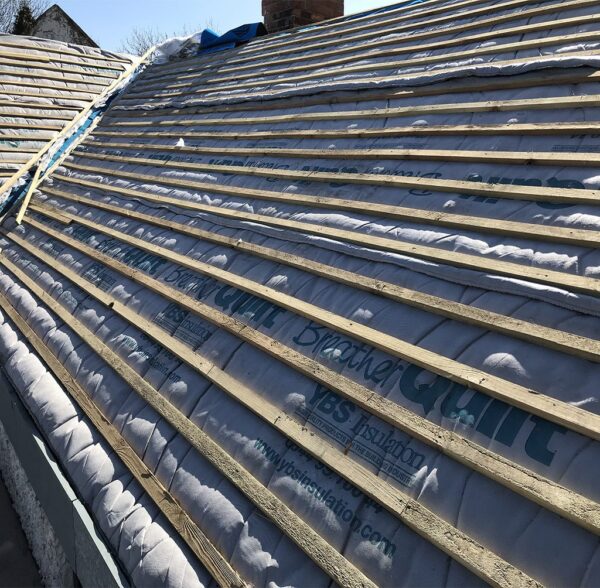
Starting at the bottom of the roof, roll BreatherQuilt across the rafters and staple in place. Ensure BreatherQuilt is draped in-between each rafter as opposed to being pulled taught. It is important that a 10mm clear gap is formed at the center of all rafters. The gap required will be between the top layer of BreatherQuilt and installed tile batten.
-
Fixing and Cutting

Ensure BreatherQuilt is stapled at 300mm intervals, using min 14mm deep staples, or nails. BreatherQuilt can be cut with either Multifoil Scissors, or a Cutting Knife. Both the cutting tools, along with a Staple Gun & Staples are available in our Multifoil Fitting Kit.
-
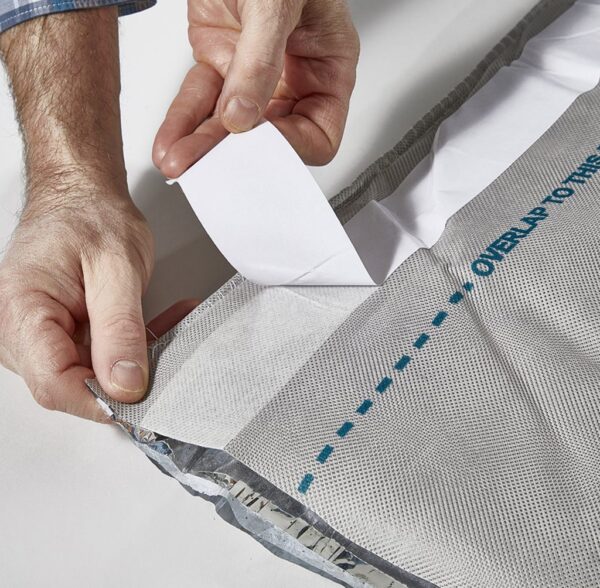
Overlapping
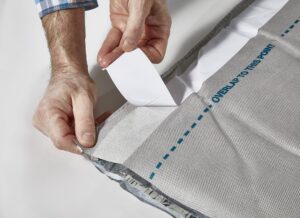
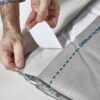
Once the first run of BreatherQuilt is fully fixed, and is draping into the rafters, proceed by using the built in double sided adhesive to seal both layers together. Install the next layer of BreatherQuilt in the same manner as the first. Overlap the first and second layer by 100mm, ensuring the double sided tape is secure and sealed.
-
Vertical Joints
Where 2 layers of BreatherQuilt meet on vertical sections, we advise these layers to be butt jointed, not overlapped. These joints should be taped over with ThermaSeal Weatherproof Tape
-
Final Detailing

At the eaves BreatherQuilt should extend onto a suitable eaves carrier. Proceed with tile/slate battens and tile/slates.
How To Install TyvaQuilt Insulation To Achieve 0.18 U-Value
-
Install SuperQuilt (Part 1)
TyvaQuilt consists of three products building regulations. 1st is SuperQuilt Under Rafter, 2nd is Non-Itch between Rafter and finally BreatherQuilt Over Rafter. Start by installing SuperQuilt under rafter. Staple SuperQuilt and roll the product out horizontally, staple at 300mm internals. Ensure all overlaps are fully taped and sealed using Thermaseal Foil Joining Tape.
-
Install SuperQuilt (Part 2)
Once SuperQuilt is fully stapled & taped on the rafter, you can next proceed with your counter battens. Install battens min 25mm through SuperQuilt into the rafters behind. Ensure battens are spaced between 400mm & 600mm. Once the battens are installed, proceed with installing a plasterboard in the usual manner.
-
Fixing and Cutting
BreatherQuilt and SuperQuilt are to be stapled using a Heavy Duty Staple Gun & 14mm Staples. All three product can be cut using the Multifoil Scissors or the cutting knife. All these accessories are available in our Multifoil Fitting Kit.
-
Install EcoLoft Non Itch
Next, install EcoLoft Non Itch Wool in-between the rafters. EcoLoft Non Itch is designed to suit either 400mm or 600mm centres, with the product supplied in 380mm width or 570mm. EcoLoft Non Itch is supplied in 100mm thickness. Simply stuff the Non-Itch Wool between each rafters, leaving an airspace above for the BreatherQuilt.
-
Install BreatherQuilt (Part 1)
Once EcoLoft Non Itch is installed, proceed to install BreatherQuilt. Start at the bottom of the rafters, roll BreatherQuilt out horizontally, stapling at min 300mm intervals. Ensure BreatherQuilt is draped into the rafters as opposed to being installed taught. Horizontal overlaps should be overlapped by 100mm, tape using Thermaseal Double Sided Tape. Vertical joists are butt jointed, and taped using waterproof tape.
-
Install BreatherQuilt (Part 2)
Once BreatherQuilt is fully covered on the rafters, proceed by install tile battens. Ensure there is a gap of 10mm between BreatherQuilt and Tile Batten (in center of each rafter) At the eaves, BreatherQuilt should extend onto a suitable eaves carrier. Finish with tile/slate finish on tile battens.
How to Insulate Your Roof Without Any Kingspan or Celotex
-
Install first run of BreatherQuilt
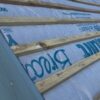
Firstly, install YBS BreatherQuilt on the external of the pitched roof. Ensure the reflective foil is facing internally with the Breather membrane facing outwards. Starting at the bottom of the rafters, staple BreatherQuilt to the first rafter using 14mm staples (recommended 300mm intervals). Roll BreatherQuilt horizontally across each rafter, stapling continuously. BreatherQuilt should sag between the rafters as opposed to being pulled taught. Ensure that once the tile battens are installed, there is a clear 10mm gap between the top layer of BreatherQuilt and the tile battens.
-
Install next run(s) of BreatherQuilt
Next, install a further layer of BreatherQuilt, overlapping the product by 100mm and seal using the built in double sided tape. Staple as previously and ensure the tape is secured and sealed. This is to be repeated dependent on how many runs are required for the roof. Additional rolls on the verticals should be butt jointed on the rafters. Ensure the butt jointed rolls are stapled as previous and taped using waterproof tape.
-
Install Tile Battens & Tiles
At the eaves, BreatherQuilt should extend onto a suitable eaves carrier. This works in the same method as standard breather membranes. Proceed next by installing horizontal tile battens, on the top of the BreatherQuilt. Finally, finish by install tiles or slates.
-
Install 2 Layers of SuperQuilt Under Rafter
Both layers of SuperQuilt can now be installed from the internal (underside) of the rafters. The first layer of SuperQuilt is to be recessed in-between the rafters, the 2nd layer of SuperQuilt is to be pulled taught as a flat continuous layer, ensuring that there is a clear cavity between both layers of SuperQuilt and BreatherQuilt.
-
Recess 1st Layer of SuperQuilt
SuperQuilt is stapled to the underside of the first rafter. SuperQuilt is next recessed into the rafter (25mm), and fixed with staples of with battens. The material is then pulled taught and fixed to the opposite rafter. SuperQuilt is then wrapped around the rafter, ensuring stapling regularly, and the procedure starts again. SuperQuilt is overlapped by 50mm, ensure fully tape and seal using Thermaseal Foil Joining Tape over the laps and around the perimeter.
-
Install 2nd Layer of SuperQuilt

Once the first layer of SuperQuilt is installed, proceed by installing the second layer. Staple or nail the second layer through the first layer into the rafters behind. Ensure this layer is also pulled taught, there will then be a cavity between the two layers of SuperQuilt. As per the first layer, the second layer is also overlapped by 50mm. Ensure again the product is fully taped and sealed around the perimeter and overlaps using Thermaseal Foil Joining Tape.
-
Internal Finishing
Once both layers are installed and taped, you are ready for your secondary batten & plasterboard. Start by installing 25mm x 38mm battens on the insulation. We advise to cross-batten, however vertical battens can be used if preferred. Finish by installing 12.5mm Plasterboard. There is no requirement for a Foiled-back plasterboard or VCL. SuperQuilt works as a high performance Vapour Control Layer when taped and sealed using the ThermaSeal Foil Tape.
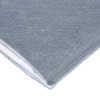
What does BreatherQuilt consist of?
BreatherQuilt consists of 11 itch-free layers including True Aluminium Foils as the Inner layer. BreatherQuilt’s external layer is a high tensile breathable felt. The other 9 layers consists of recycled waddings, PE Foams, and other reflective foils.
Is BreatherQuilt harmful?
BreatherQuilt contains no harmful fibres and does not release any toxic gasses when cut or installed. When installing BreatherQuilt, there is no requirement for any masks, PPE or gloves.
What thickness is BreatherQuilt?
BreatherQuilt is available in just one thickness, which is 40mm at a relaxed thickness and will compress down to 7mm.
Do BreatherQuilt require airgaps?
To gain the best thermal performance, we recommend a minimum cavity/batten of 25mm both sides of the insulation. This is to allow the product to expand and reflect. If a cavity is removed, the performance would reduce by approx 20%.
Is BreatherQuilt fireproof?
BreatherQuilt has a Class E Euro Fire Classification Certificate. BreatherQuilt is not fully fire-proof, however the true aluminium inner layer are flame proof, meaning if a naked flame touches the product, it will smoulder as opposed to spreading.
What’s the difference between BreatherQuilt and SuperFoil SF19BB?
BreatherQuilt and SF19BB are both breathable multifoils for over rafter use. BreatherQuilt is UK manufactured and is fully certificated by both LABC and BDA. BreatherQuilt also has a true aluminium foil as the internal layer, compared to a met-pet foil layer.
| Width | 1.2m |
| Length | 10m |
| Thickness | 40mm (7mm Compressed) |
| Roll Coverage | 12m² |
| Layers | 11 |
| Weight | 8KG |
| Core R-value | 1.17m²K/W |
| Roof R-value | 1.62m²K/W |
| Foil Emissivity | 0.05 |
| Water Vapour Resistance | 0.15MNs/g |
Reviews
There are no reviews yet