The Ultimate Guide to Garden Room Insulation
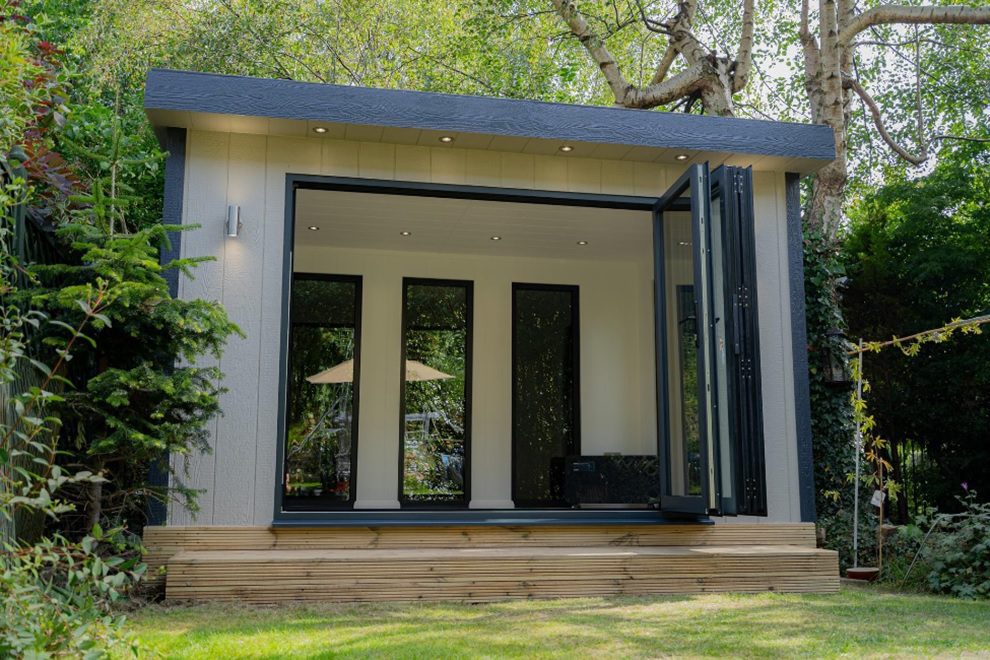
When it comes to creating a comfortable retreat in your garden, insulation is key. Whether you have a garden office, a studio, or a relaxation space, insulating your garden room can make a world of difference in its comfort and usability throughout the year. In this ultimate guide to garden room insulation, we will explore the benefits of insulating it, different types of insulation, and how to properly insulate your space for maximum comfort. Get ready to transform your garden room so it can be enjoyed all year round.

Benefits of Insulating Your Garden Room
Insulating your garden rooms offers a multitude of benefits. Firstly insulation helps regulate the temperature inside the space, keeping it warm in the winter and cool in the summer. This means you can comfortably use your garden room all year round, regardless of the weather outside. Insulation also helps reduce noise transmission, creating a peaceful and quiet environment for work or relaxation. Additionally, proper insulation can save you money on your energy bills by minimising heat loss and reducing the need for heating and cooling appliances. With these benefits in mind, it’s clear why garden room insulation is a worthwhile investment.
Types of Insulation for Garden Rooms
When it comes to insulating your garden room, there are several types of insulation to consider. One popular option is fiberglass insulation, which is made from recycled glass and offers good thermal performance. It is easy to install and provides effective insulation against heat and sound.
Another option is mineral wool, which is made from volcanic rock or slag. It offers excellent thermal and acoustic properties and is also fire resistant.
Foam board insulation, made from polystyrene or polyurethane, is another common choice. It provides high thermal resistance and is easy to cut and install.
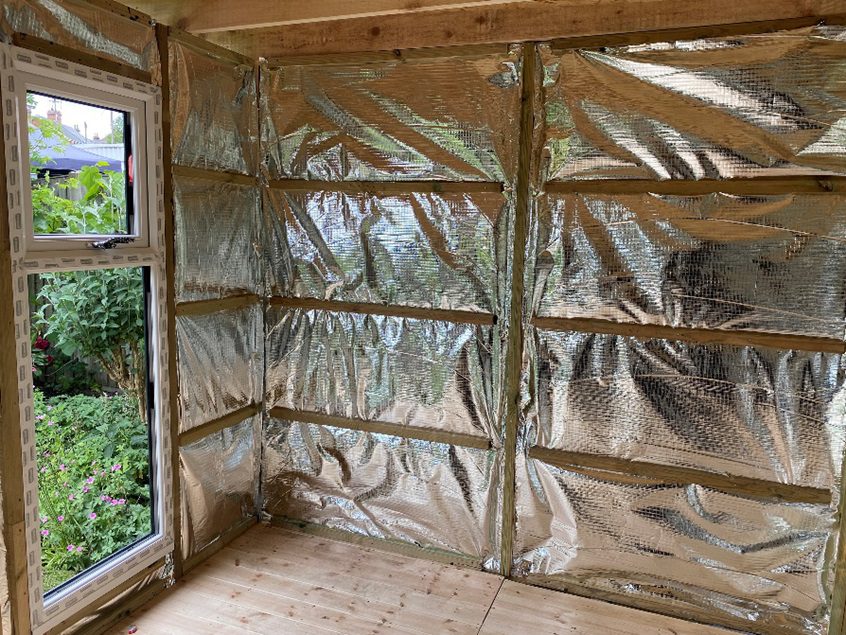
Lastly, there is reflective foil insulation, which consists of a layer of foil that reflects heat into the room, it also reflects excess heat away during the summer maintaining an ambient temperature. Once taped and sealed foil insulation acts as a vapour control layer which prevents condensation and any future issues with mould and dampness making it particularly effective in garden rooms. Common forms of foil insulation are YBS SuperQuilt and EcoQuilt Expert.

Understanding R-values and U-values
When considering insulation for your garden room, it’s important to understand U-values and R-values. R-values measure the thermal resistance of insulation, indicating how well it can prevent heat transfer. The higher the R-value, the better the insulation’s performance. U-values, on the other hand, measure the rate of heat loss through a material and the makeup of a building. A U-value is something you need to meet and you’ll be given a value by building control. When looking for insulation for your garden room, look for products with high R-values and low U-values.
DIY Garden Room Insulation Step-by-Step Guide
If you’re a handy DIY Enthusiast, you may consider insulating your garden room yourself. Here is a step-by-step guide to help you through the process:
Assess your garden room –
Start by assessing the current state of your garden room. look for any gaps or areas that may need repairing before insulating.
Choose the right insulation – Select the type of insulation that suits your needs and budget. Consider factors such as R-value, ease of installation, and compatibility with the structure of the garden room.
Prepare the space –
Clear out any furniture or belongings from your garden room. Clean the space from any dust and debris to create a neat workspace.
Seal gaps and cracks –
Use caulk or expanding foam to seal any gaps or cracks in the walls or around the windows. This will prevent air leakage and improve the efficiency of the insulation.
Install Insulation –
Follow the manufacturer’s instructions to install the insulation material properly. Pay attention to the recommended thickness and whether any air cavities are required.
Cover the insulation –
Once the insulation is in place cover it with a vapour barrier if required however foil insulation already has a built-in vapour control layer.
Finish the walls –
finally, finish the walls with plasterboard or another suitable material like cladding to complete the insulation process. By following these steps, you can successfully insulate your garden room and create a comfortable retreat that can be enjoyed throughout the year.
Conclusion
In Conclusion, garden room insulation is a crucial element in creating a comfortable retreat that can be enjoyed all year round. Whether you can choose to insulate your garden room yourself or hire a professional, the benefits are undeniable. From regulating temperature and reducing noise transmission to saving on energy bills, insulation enhances the usability and comfort of the space. By understanding the different types of R-values and U-values, and avoiding common mistakes, you can ensure an effective insulation installation. With proper maintenance, your garden room insulation will continue to provide the comfort and efficiency you desire. So go ahead, transform your garden room into a cozy oasis, and enjoy its benefits in every season.
The Ultimate Guide to Garden Room Insulation
